Table of Contents
- Why Rough-In Inspection Tips Save You a Second Visit
- Plumbing Rough-In Inspection Checklist: What Inspectors Look For
- Plumbing Pressure Test Before Inspection: How to Set It Up
- Common Rough-In Plumbing Inspection Failures
- Rough-In Plumbing Inspection Timeline: From Call to Cover-Up
- Five Prep Steps for the Day of Inspection
- Conclusion: Book the Inspection Before You Close the Walls
- Frequently Asked Questions
Last Updated: October 9, 2026
Why Rough-In Inspection Tips Save You a Second Visit
A failed rough-in inspection costs you days, not hours. The walls stay open, the crew stops work, and you pay for a return trip. At IRC Plumbing, we have walked homeowners and remodelers in Sebastian, FL through this stage for years, and the pattern rarely changes: most failures come down to a handful of details that were visible before anyone called the inspector.
Rough-in inspection is the stage where the framing is open and the pipes are installed but not yet covered by drywall. It is your one clean chance to get the work checked before it disappears behind a wall. Get it right and the rest of the project moves fast.
This guide covers the plumbing rough in inspection tips that matter most. You will get a full checklist, the pressure test setup, the common failures, and a timeline from the first phone call to the moment you close the walls.
The rough-in stage is the last time anyone can see your plumbing without cutting drywall. Treat the inspection as a checkpoint, not a formality.
Plumbing Rough-In Inspection Checklist: What Inspectors Look For
A rough-in inspection covers three things: how waste drains, how water is supplied, and whether everything is protected and supported. Inspectors do not test your design taste. They test whether the system will work and stay safe once it is sealed.
The checklist below is the same one our crews run through before we ever schedule a visit.
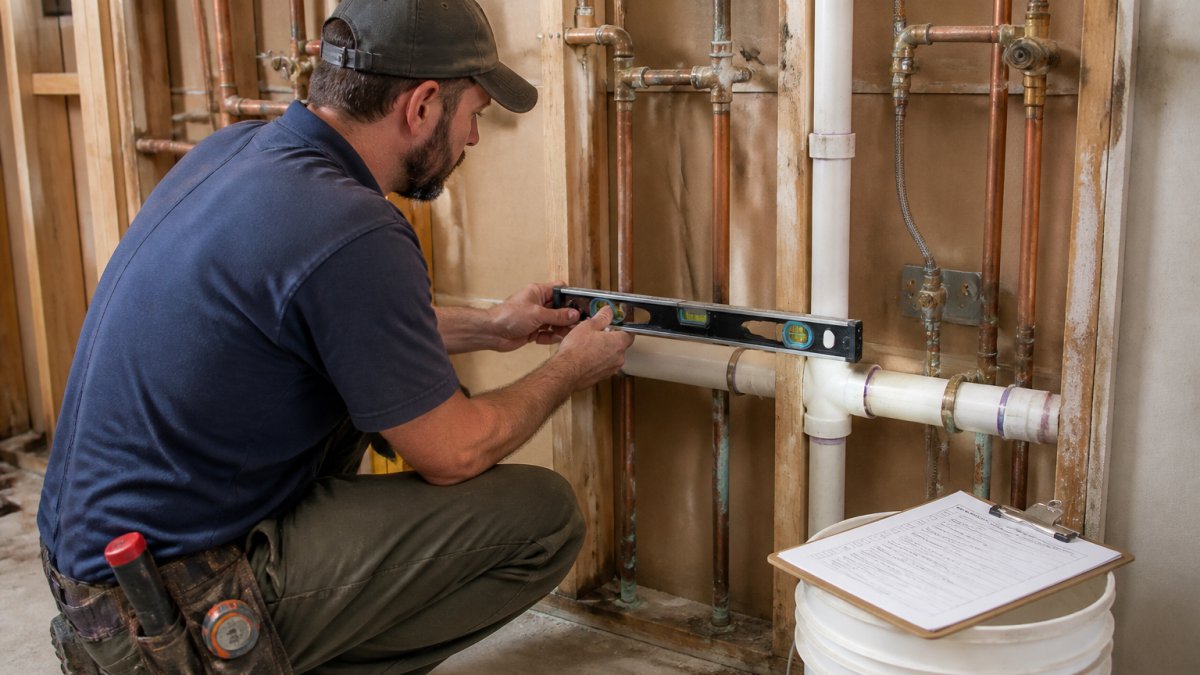
DWV Slope, Venting and Pipe Support
Drain, waste, and vent piping has to slope toward the sewer at a steady grade, or waste sits in the pipe and clogs form. Horizontal runs need support at regular intervals so they do not sag over time. Every fixture needs a vent that connects properly to the stack, and vents must run upward without dips.
Watch for these:
- Slope that is too flat, or worse, sloping backward
- Missing or incorrectly placed vent connections
- Pipes resting on framing instead of proper hangers and straps
- Cleanouts buried or facing the wrong direction
Water Supply, Shutoffs and Protection Plates
Supply lines need to be secured, protected where they pass through framing, and fitted with shutoff valves at each fixture. Protection plates, also called nail plates, go on studs wherever a pipe runs close to the surface. Without them, a drywall screw becomes a leak.
Check that:
- Hot and cold lines are correctly oriented
- Shutoff valves are installed and accessible
- Nail plates cover every pipe passing through a stud
- No supply line is crimped or kinked
Skipping nail plates is the single most common rough-in shortcut. It passes fine on inspection day and fails two years later when someone hangs a picture.
Plumbing Pressure Test Before Inspection: How to Set It Up
A plumbing pressure test before inspection proves the system holds. You cap every opening, fill the lines, and watch the gauge. If pressure drops, you have a leak, and you want to find it now while the wall is open.
For supply lines, the standard approach is to fill with water or air and hold the system at test pressure for a set period. Drain lines are often tested separately with water. Your local inspector will tell you which method and pressure they expect, so confirm before you fill anything.
Setup steps:
- Cap or plug every open pipe end and fixture stub
- Isolate the section you are testing with valves
- Fill the system and bleed out trapped air
- Bring it to test pressure and mark the gauge reading
- Wait the required time and check for any drop
- Walk the whole run and look for weeping joints
If the gauge holds, you are ready. If it drops, fix the joint before you call anyone.
Common Rough-In Plumbing Inspection Failures
Most common rough-in plumbing inspection failures fall into a few buckets: wrong slope, missing venting, unprotected pipe, and a pressure test that was never properly run. None of these are exotic. They are basic items that got rushed.
Here is what we see most often, and how to fix each one before the inspector arrives.
| Failure | What It Looks Like | The Fix |
|---|---|---|
| Flat or back-sloped drain | Water pools in the run | Re-hang with correct grade |
| Missing vent connection | Gurgling fixtures, slow drains | Add or reroute the vent |
| No nail plates | Pipe near stud face | Install plates on every pass-through |
| Failed pressure test | Gauge drops during hold | Locate and repair the leaking joint |
| Unsupported pipe | Sag between hangers | Add hangers at required spacing |
| Blocked cleanout | Fitting buried in framing | Reposition and keep it accessible |
A common mistake is fixing the visible item and forgetting the cause. If a drain is back-sloped, the hangers are usually wrong too. Fix both.
Rough-In Plumbing Inspection Timeline: From Call to Cover-Up
The rough-in plumbing inspection timeline usually runs a few business days from request to inspection, depending on your local office workload. Plan for it early, because the whole project waits on that sign-off.
A realistic sequence looks like this:
- Day 0: Finish the rough-in and run your own pressure test
- Day 1: Call the inspection office and book a window
- Day 2-4: Inspector visits and either passes the work or writes up corrections
- Same day or next: Corrections are made and reinspection is scheduled
- After pass: Drywall and cover-up work begins
The lesson is simple. Do not wait until the last pipe is in to call. Book the inspection while the crew is finishing, so the gap between “done” and “checked” stays short.
Ask the inspection office what pressure and hold time they want before you fill the lines. Getting that answer up front saves a reinspection almost every time.
Five Prep Steps for the Day of Inspection
Prep work is what separates a first-time pass from a callback. The inspector is looking for a clean, finished rough-in, not a job site in progress.
Run these five steps the day before:
- Confirm the pressure test is holding and the gauge is still marked
- Walk the run and check every nail plate is in place
- Clear the area so the inspector can reach all piping
- Have your permit and plans on site
- Make sure cleanouts and shutoffs are accessible
One more thing. Keep the crew from covering anything until the inspector signs off. We have seen homeowners start hanging drywall the same morning, only to tear it back out.
Conclusion: Book the Inspection Before You Close the Walls
The rough-in is your only clear look at the system before it vanishes behind drywall. Get the slope right, protect the pipe, run a real pressure test, and book the inspection early. That is the whole game.
If you are remodeling in Sebastian or anywhere across the Treasure Coast and want the rough-in done right the first time, IRC Plumbing can help. We are family-owned, licensed and insured (#CFCA20364), and we bring over 21 years of experience to every job, from leak detection to whole-house re-pipes and kitchen and bath remodels.
Schedule a Service with IRC Plumbing and close up those walls with confidence.
Frequently Asked Questions
What does a plumbing rough-in inspection check?
The inspector confirms the drain, waste and vent piping is sized and sloped correctly, that vents run to the required height and location, and that every fixture has a proper trap. Water supply lines are checked for support and protection, and the system must hold its pressure test. Everything stays open so the inspector can see the full run before drywall goes up.
Can plumbing pipes be covered before the rough-in inspection?
No. Concealing pipework before the rough-in inspection is one of the most common reasons a job fails, and inspectors can require you to open the wall again. Keep framing, drywall and insulation clear of every drain, vent and supply line until the inspection passes. Once you have approval, you can close the walls and move on to fixtures.
How long does a plumbing rough-in inspection take?
The visit itself usually runs 20 to 45 minutes for a single bathroom or kitchen, and longer on a whole-house re-pipe or a multi-bath remodel. The wait for an appointment varies by jurisdiction and season, so build several business days into your schedule. Inspectors often arrive within a set morning or afternoon window, so plan for a half day on site.
What happens after a plumbing rough-in inspection passes?
You receive an approved inspection record, which clears you to insulate and close the walls. Keep that documentation for your permit file and for any future resale. If the inspector flags an item instead, correct it and request a re-inspection, which is why scheduling the first visit early matters. A failed rough-in costs you time, not just another appointment.